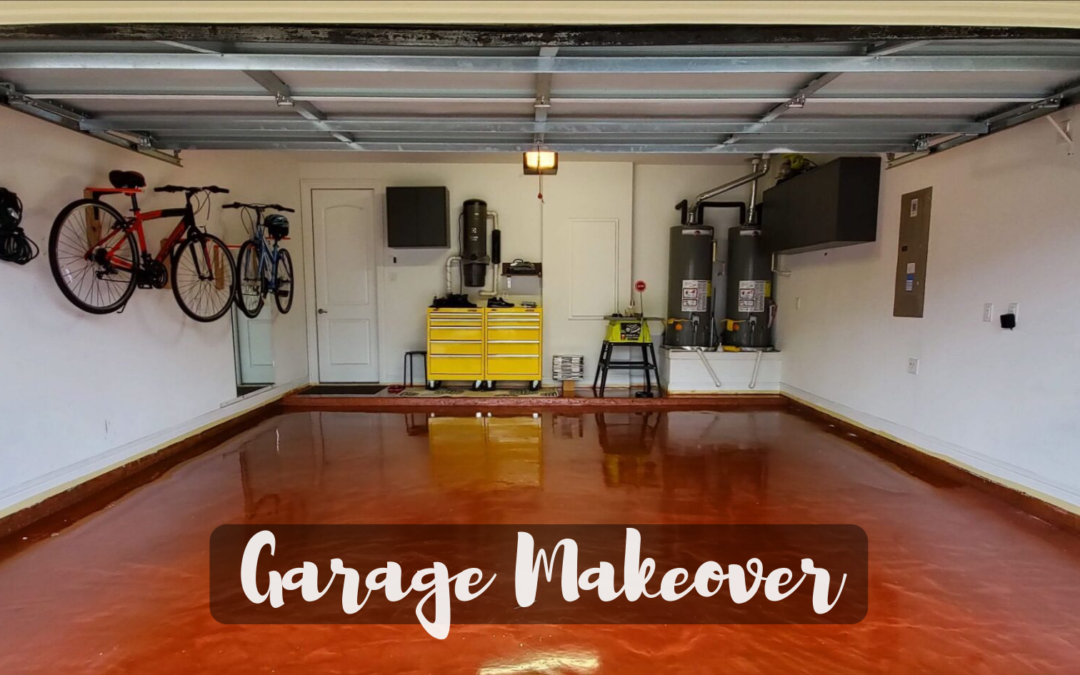
DIY Garage Makeover
We recently updated our Garage. We changed the concrete floor with high gloss epoxy and added additional storage with Ikea floating cabinets.
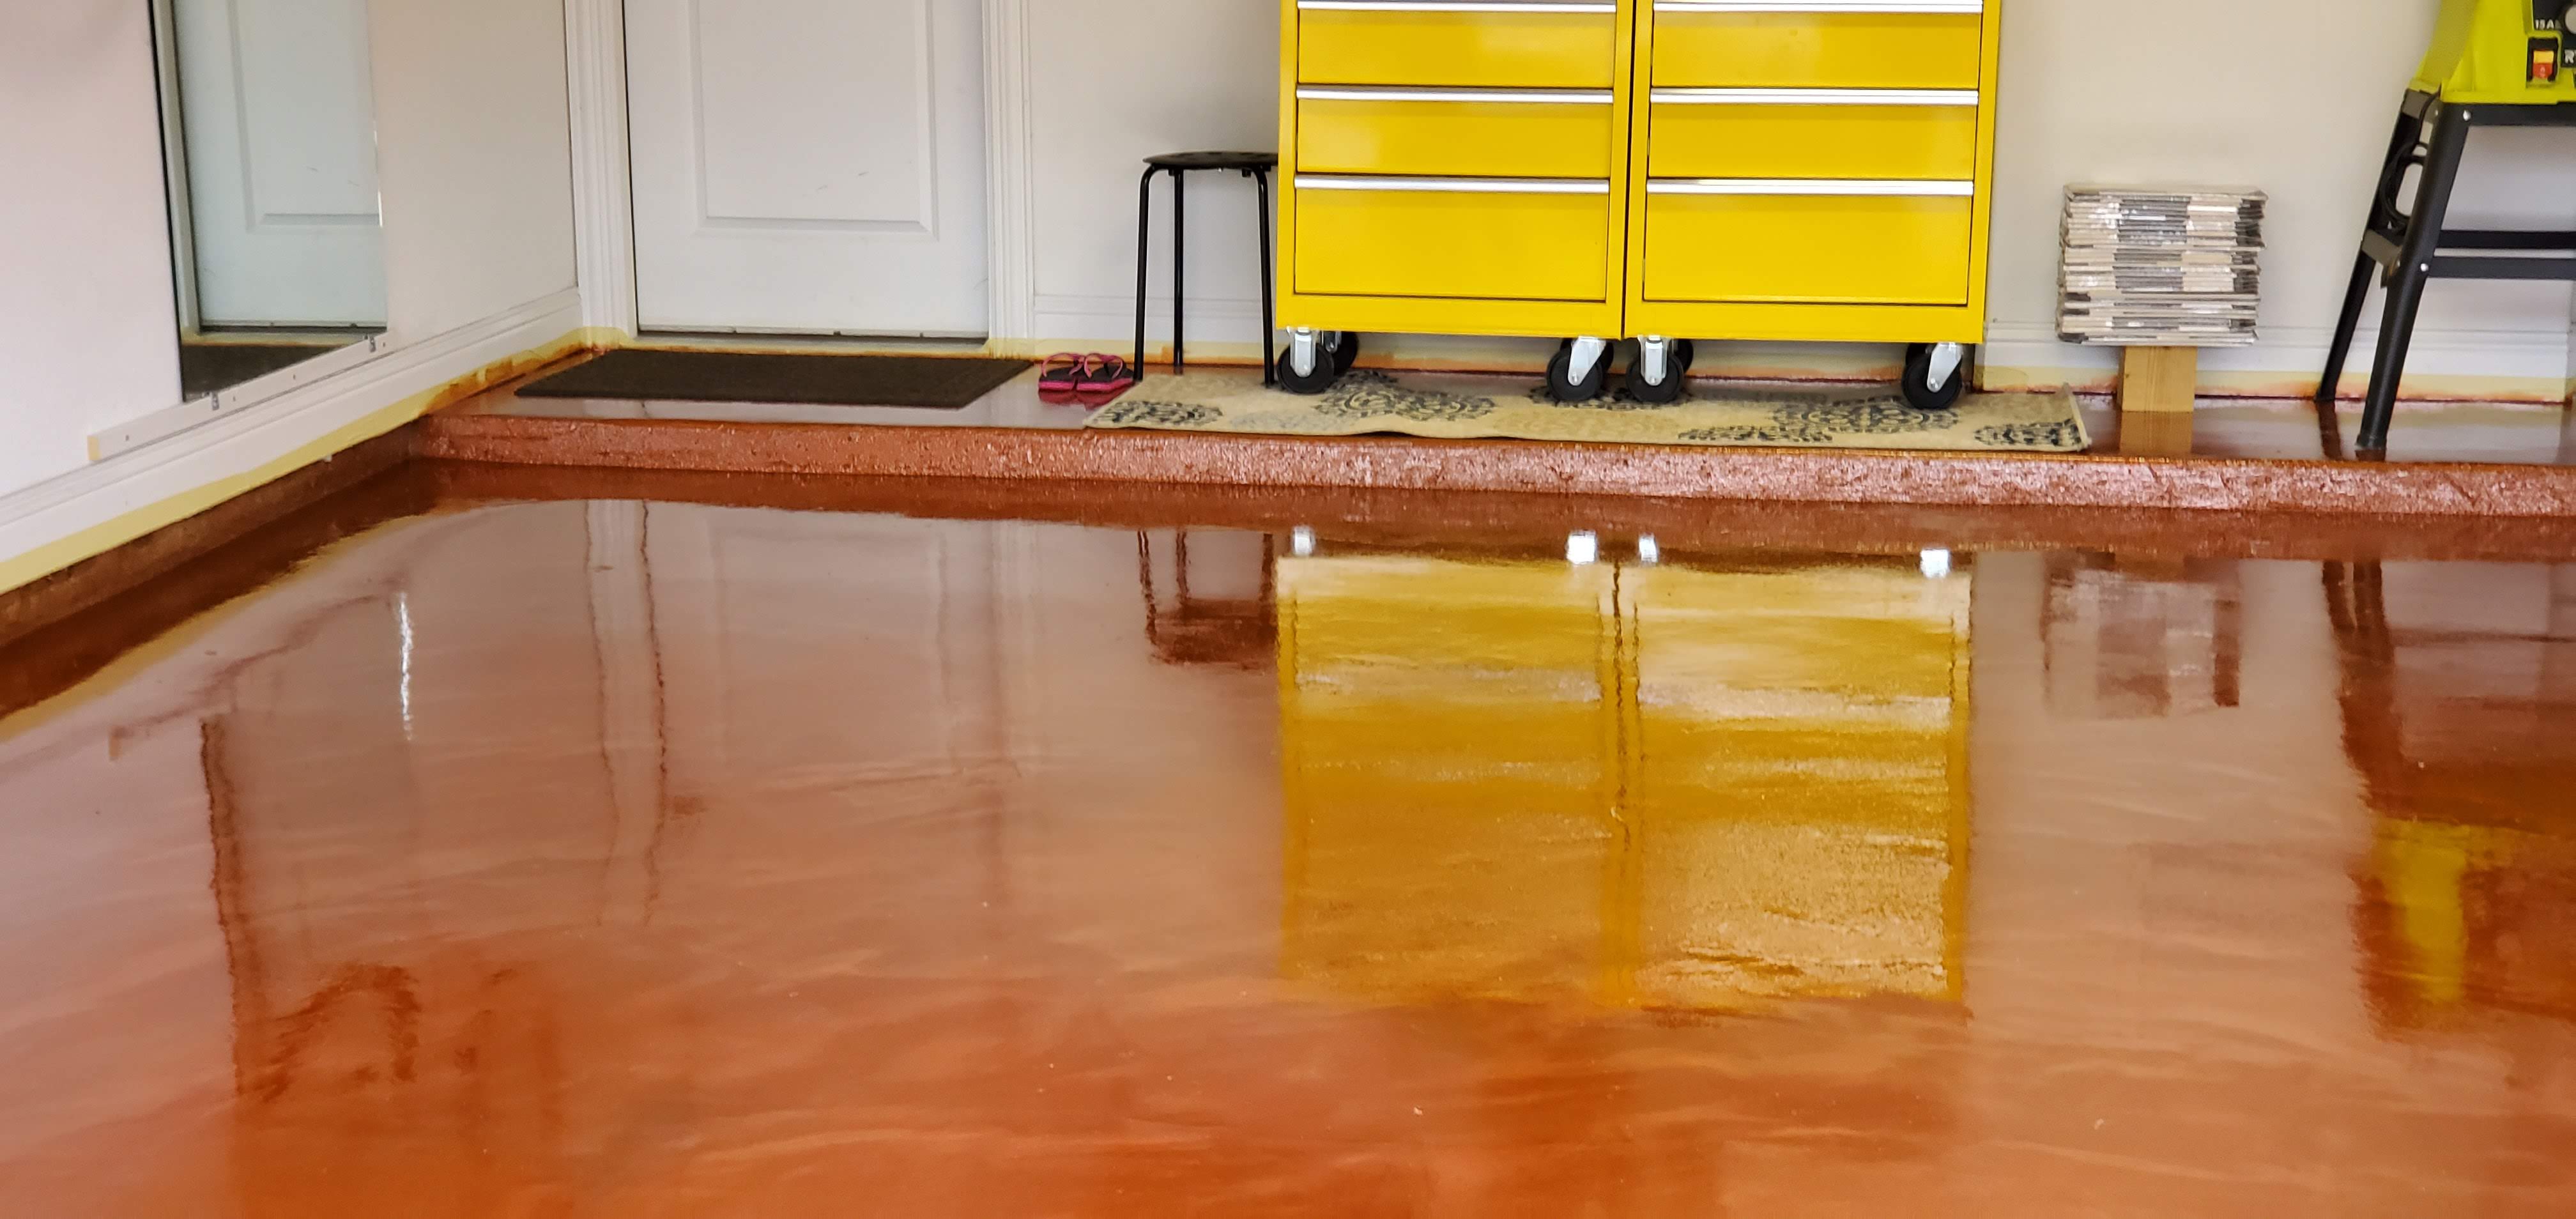
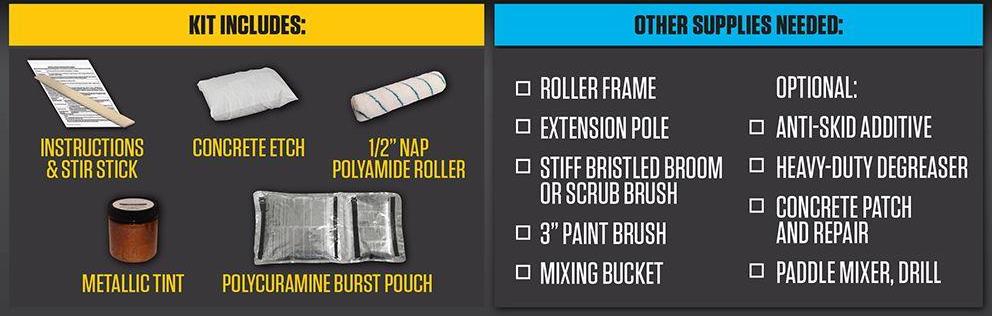
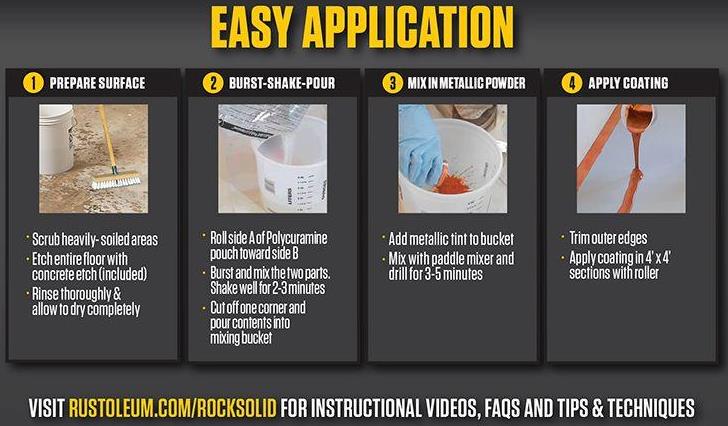
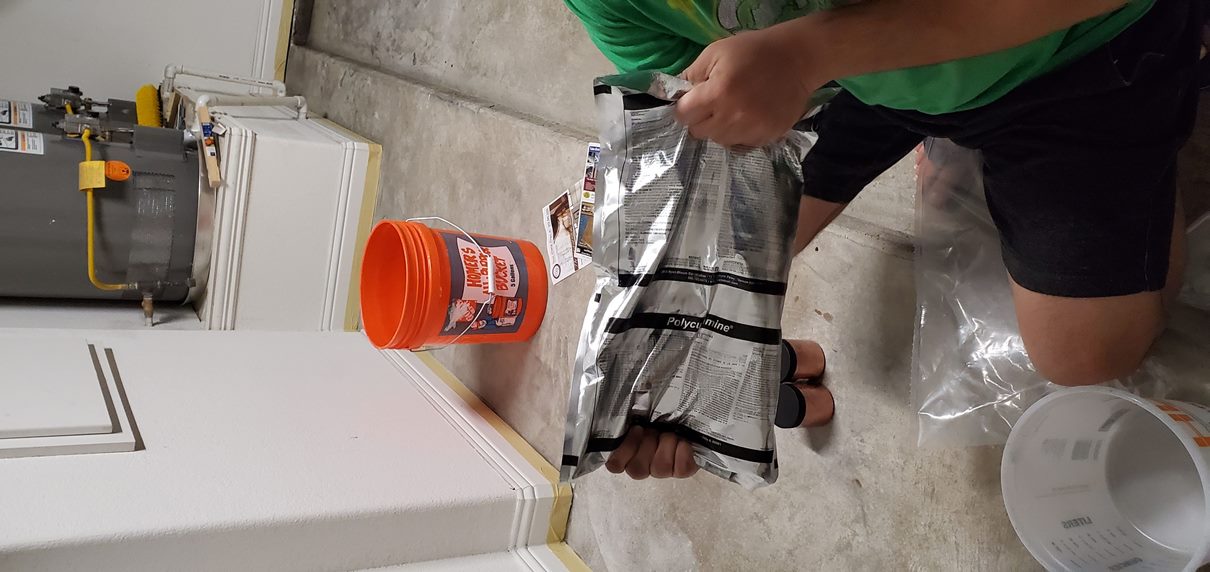
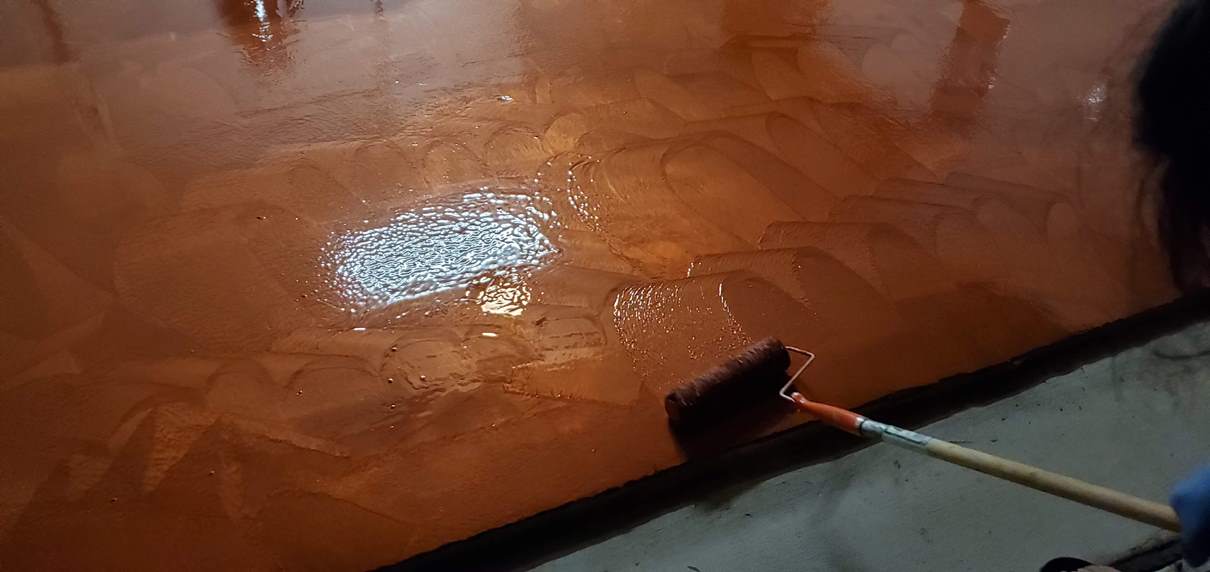
We used ROCKSOLID Polycuramine Metallic Floor Coating Kit as this is a DIY product and is 20 times stronger than epoxy. Also because this product dries quicker (you can start using the Garage in 8-10 hours and drive on in 24 hours).
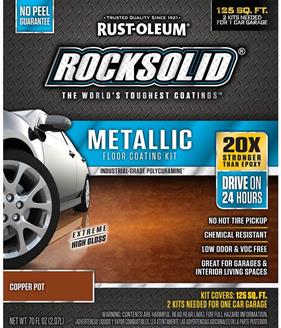
ROCKSOLID Polycuramine Metallic Floor Coating Kit (Copper Pot – 70 fl oz kit)
We used Cooper Pot color kit. We need 2 kits per 1 Car area, so we ended up using 5 kits for our garage (2 Car area + a little extesion area in the front).
Tip: Order your kit via Home Depot early on as we found that none of our local stores had 5 kits of same color in stock
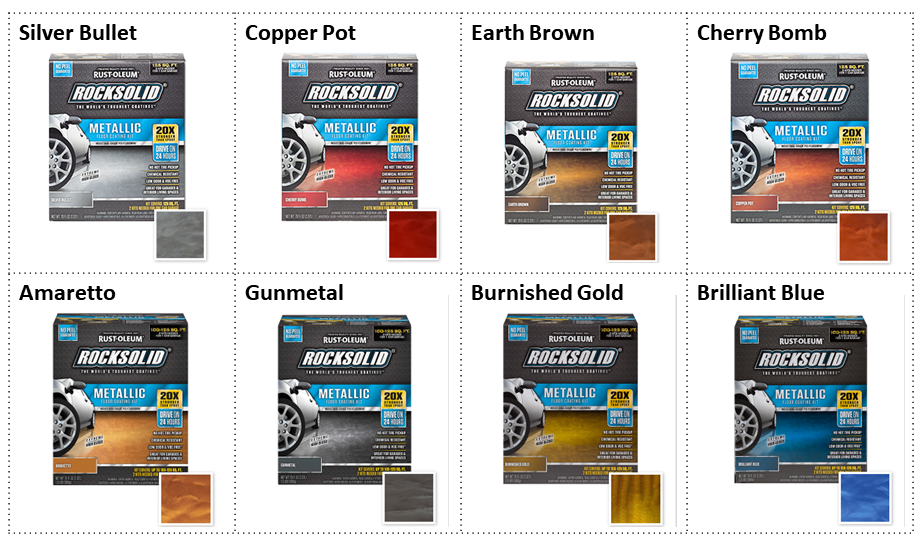
Here are some of the features of the Kit (as printed on the box) –

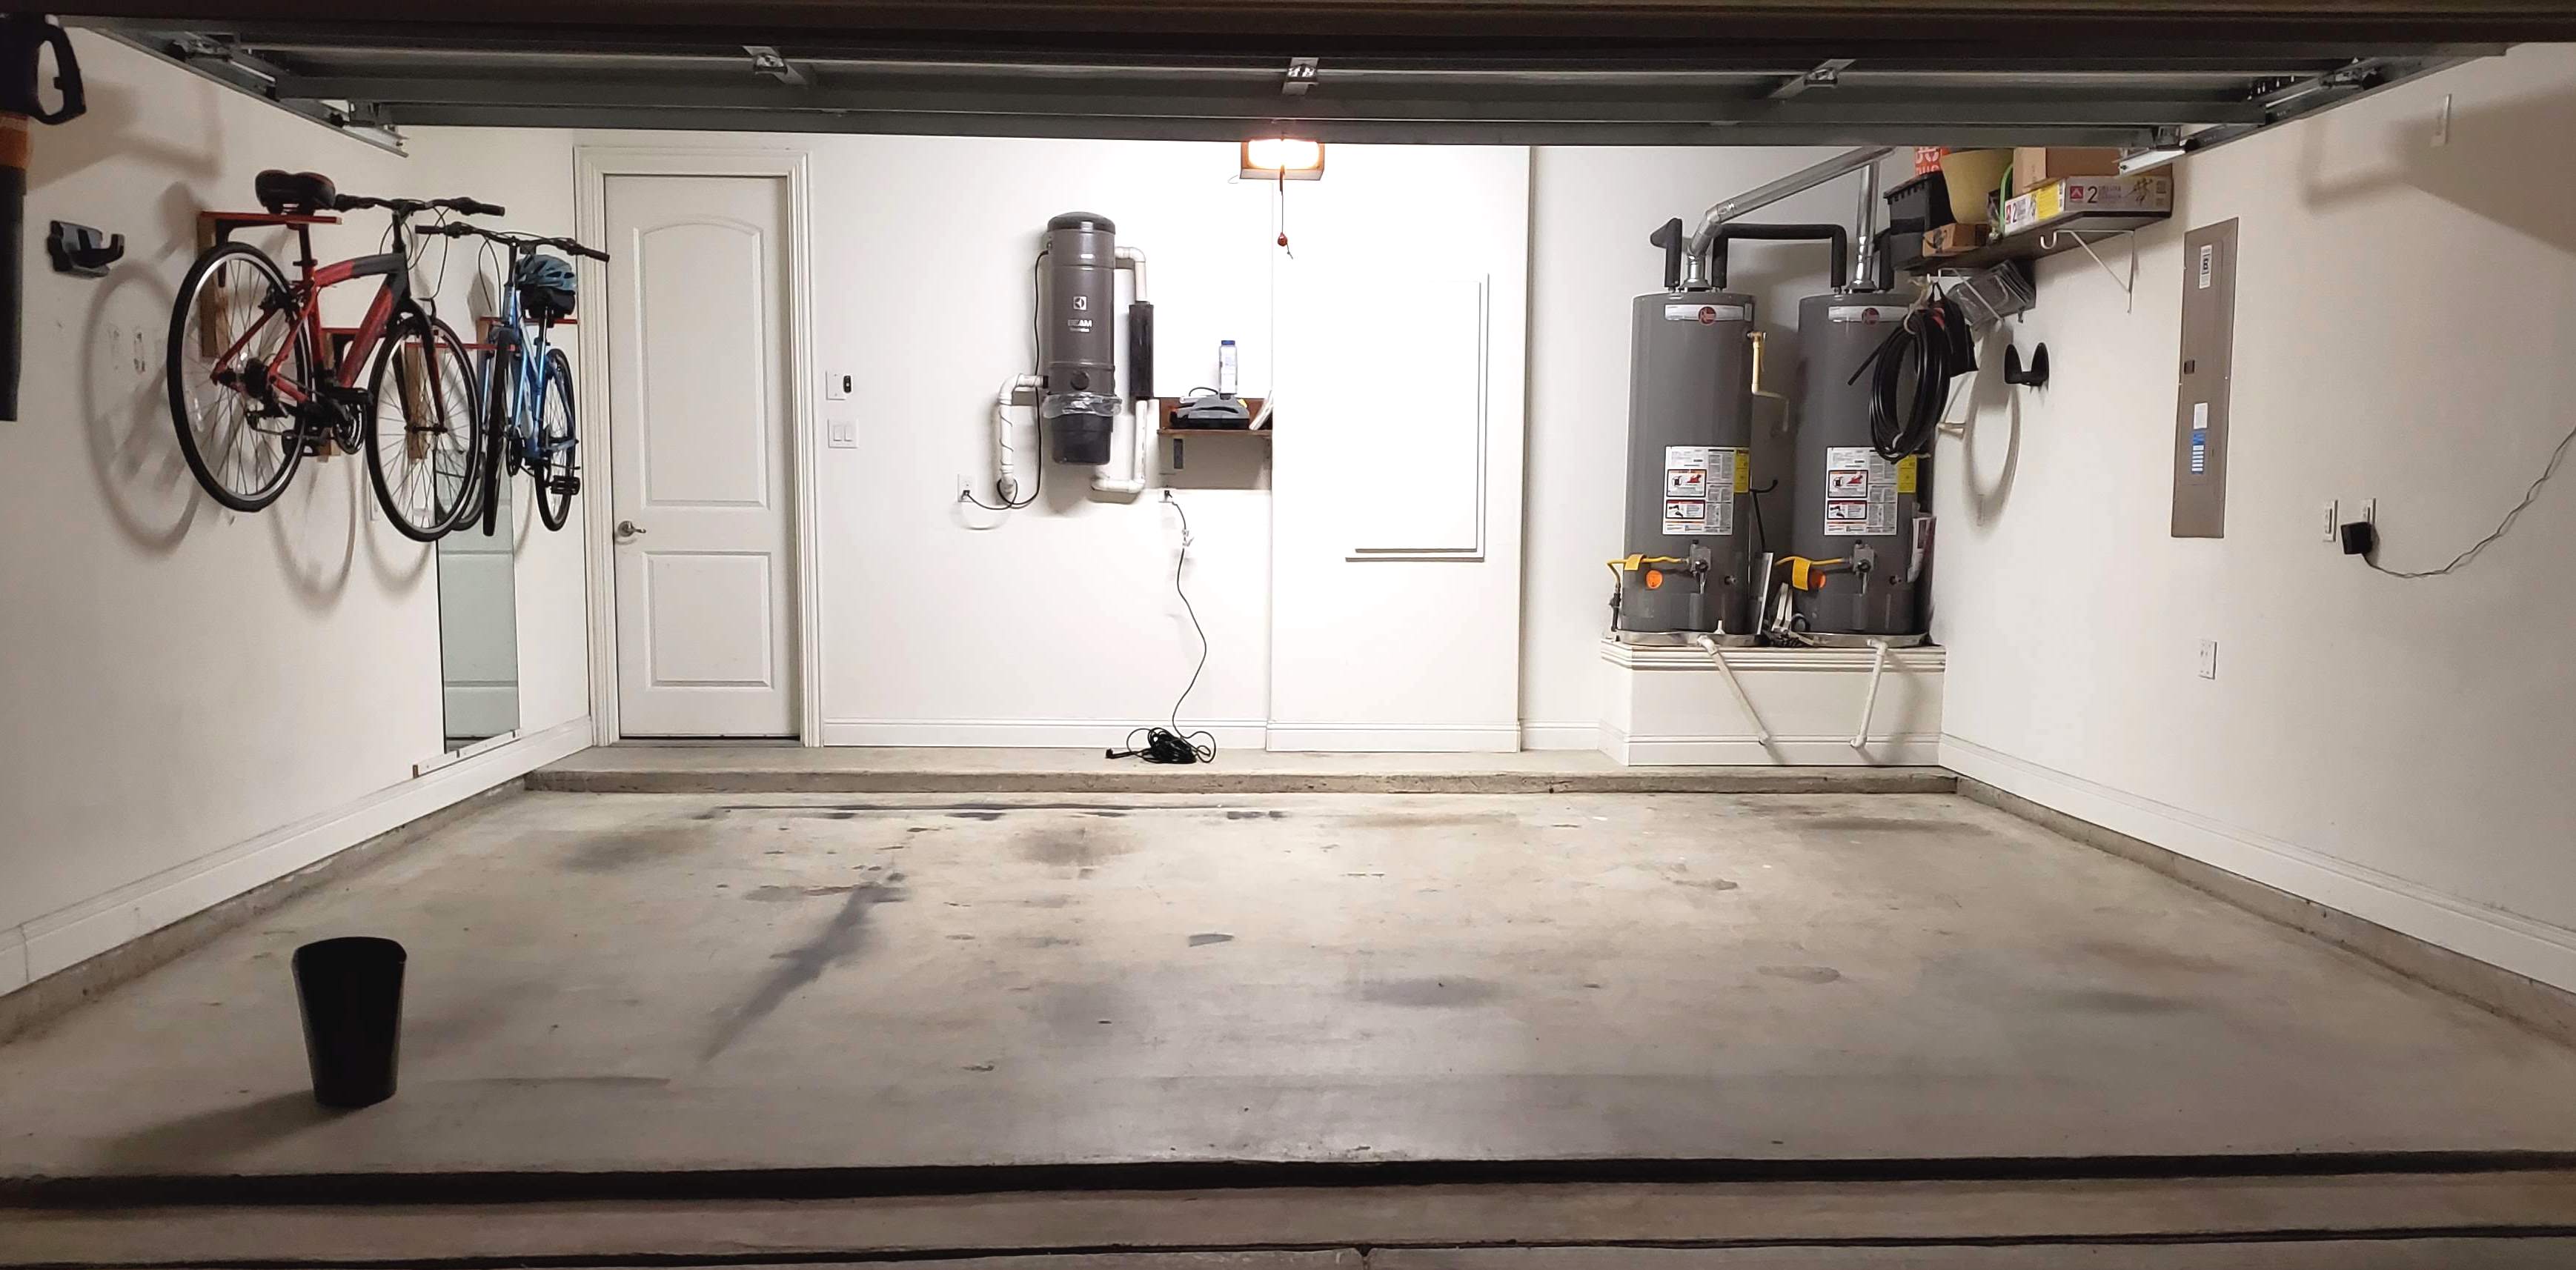
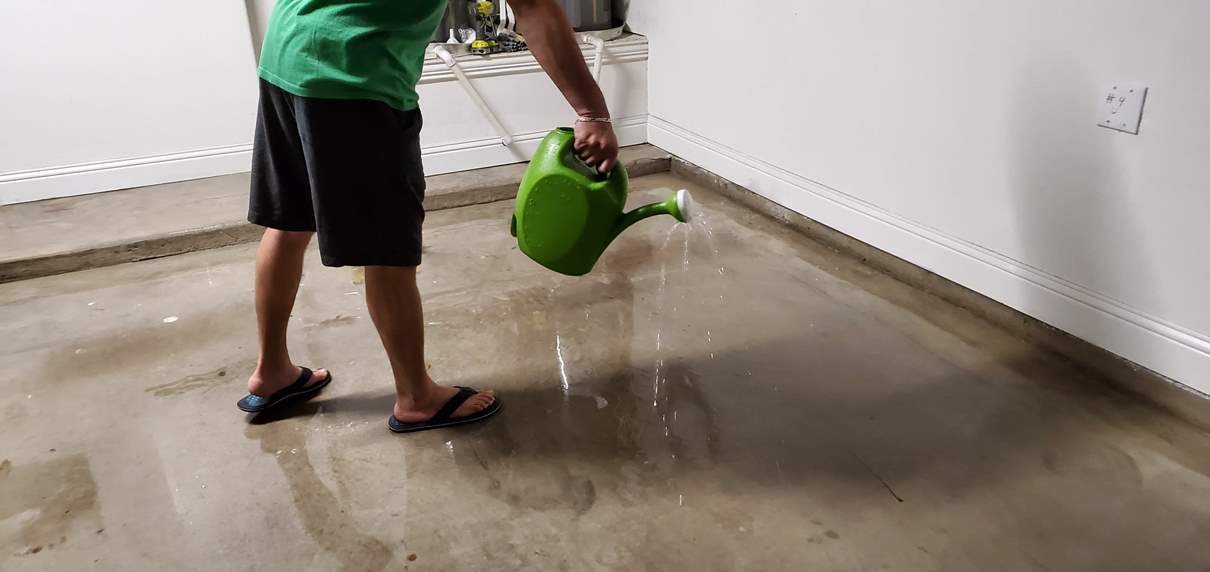
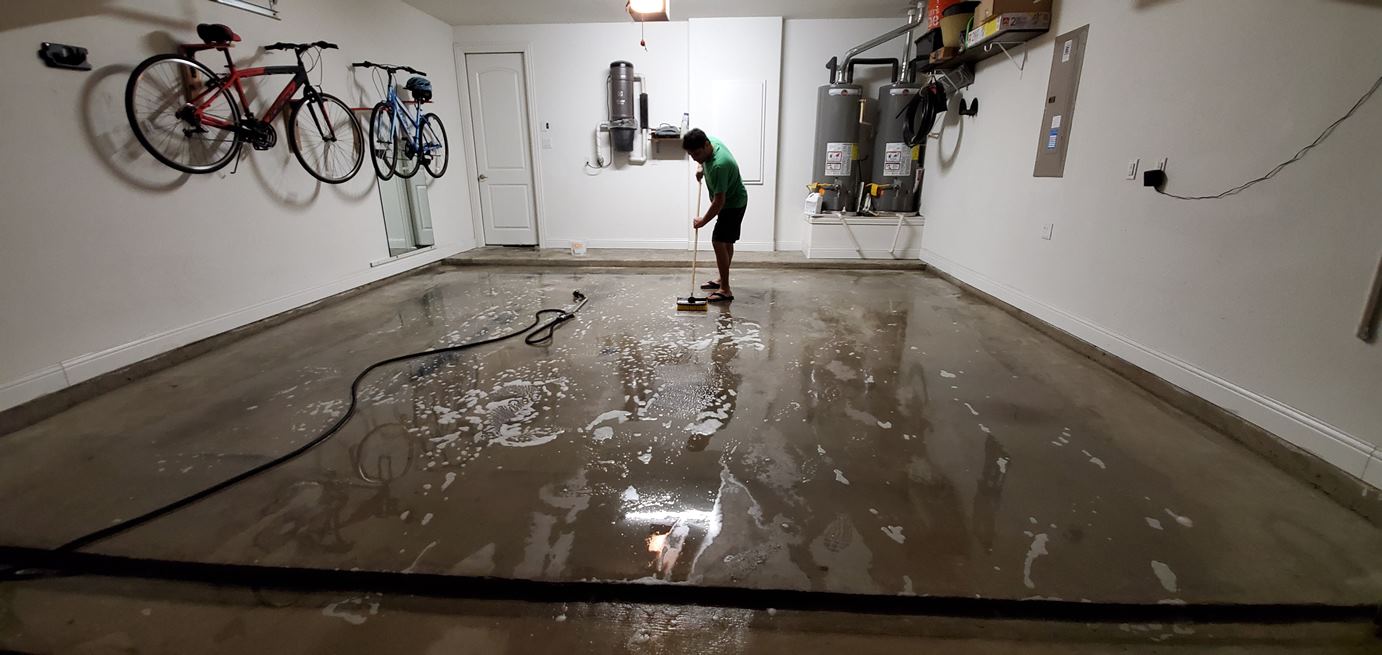
Before

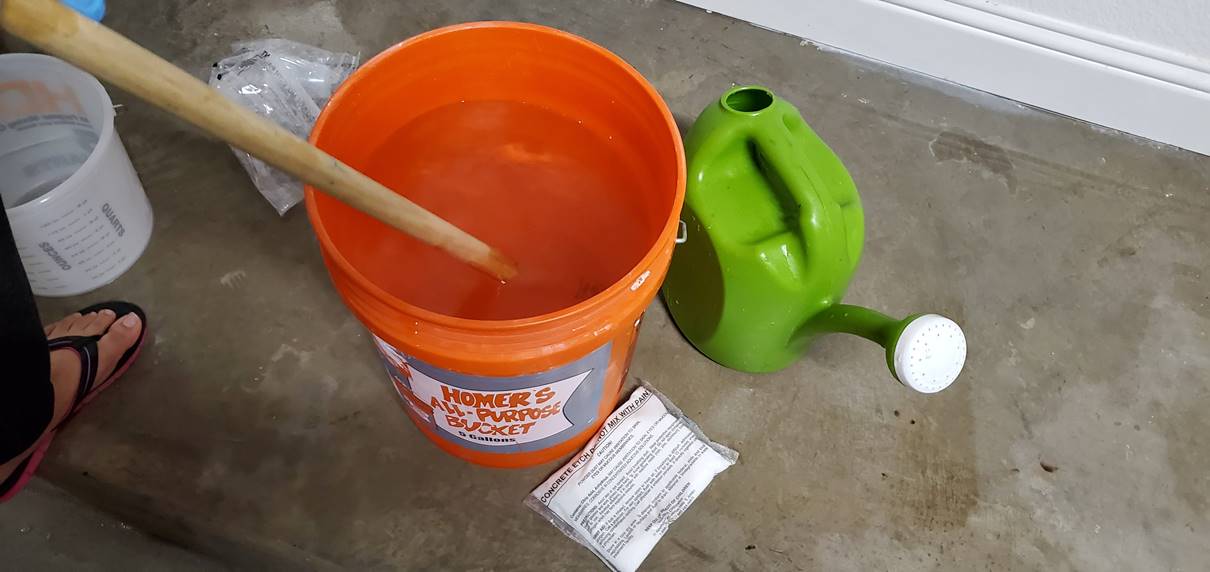
During
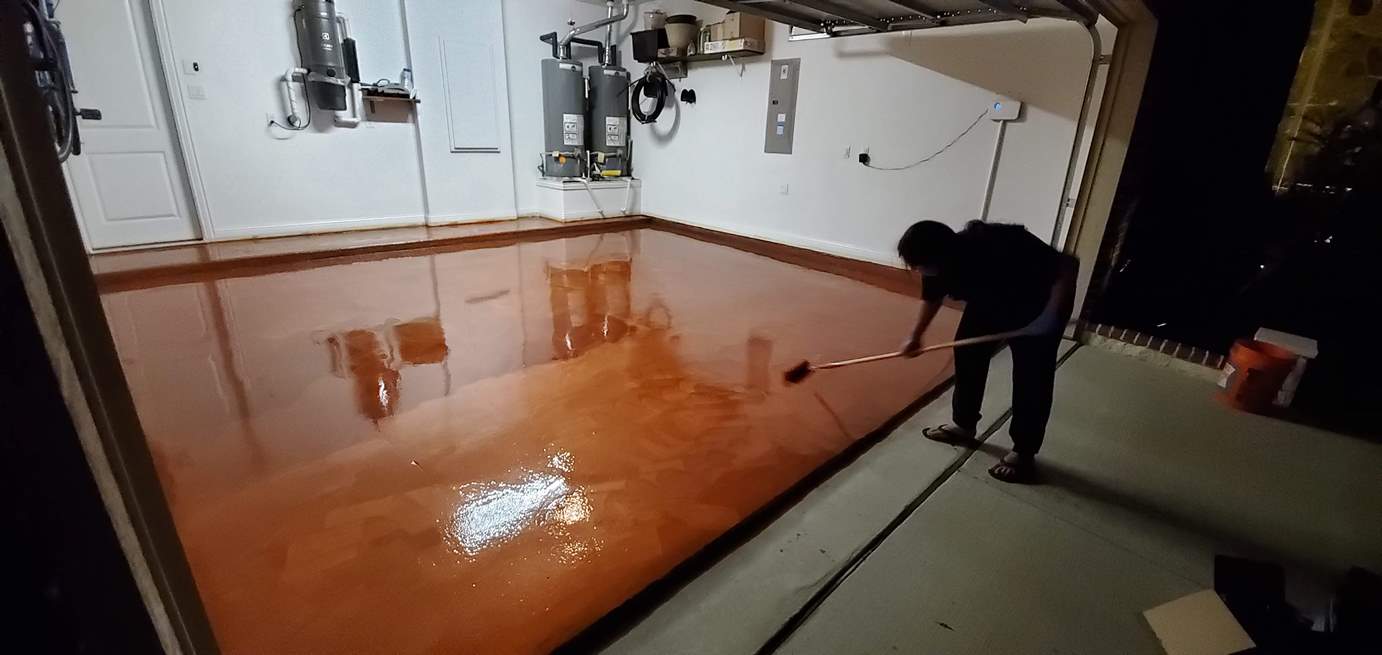
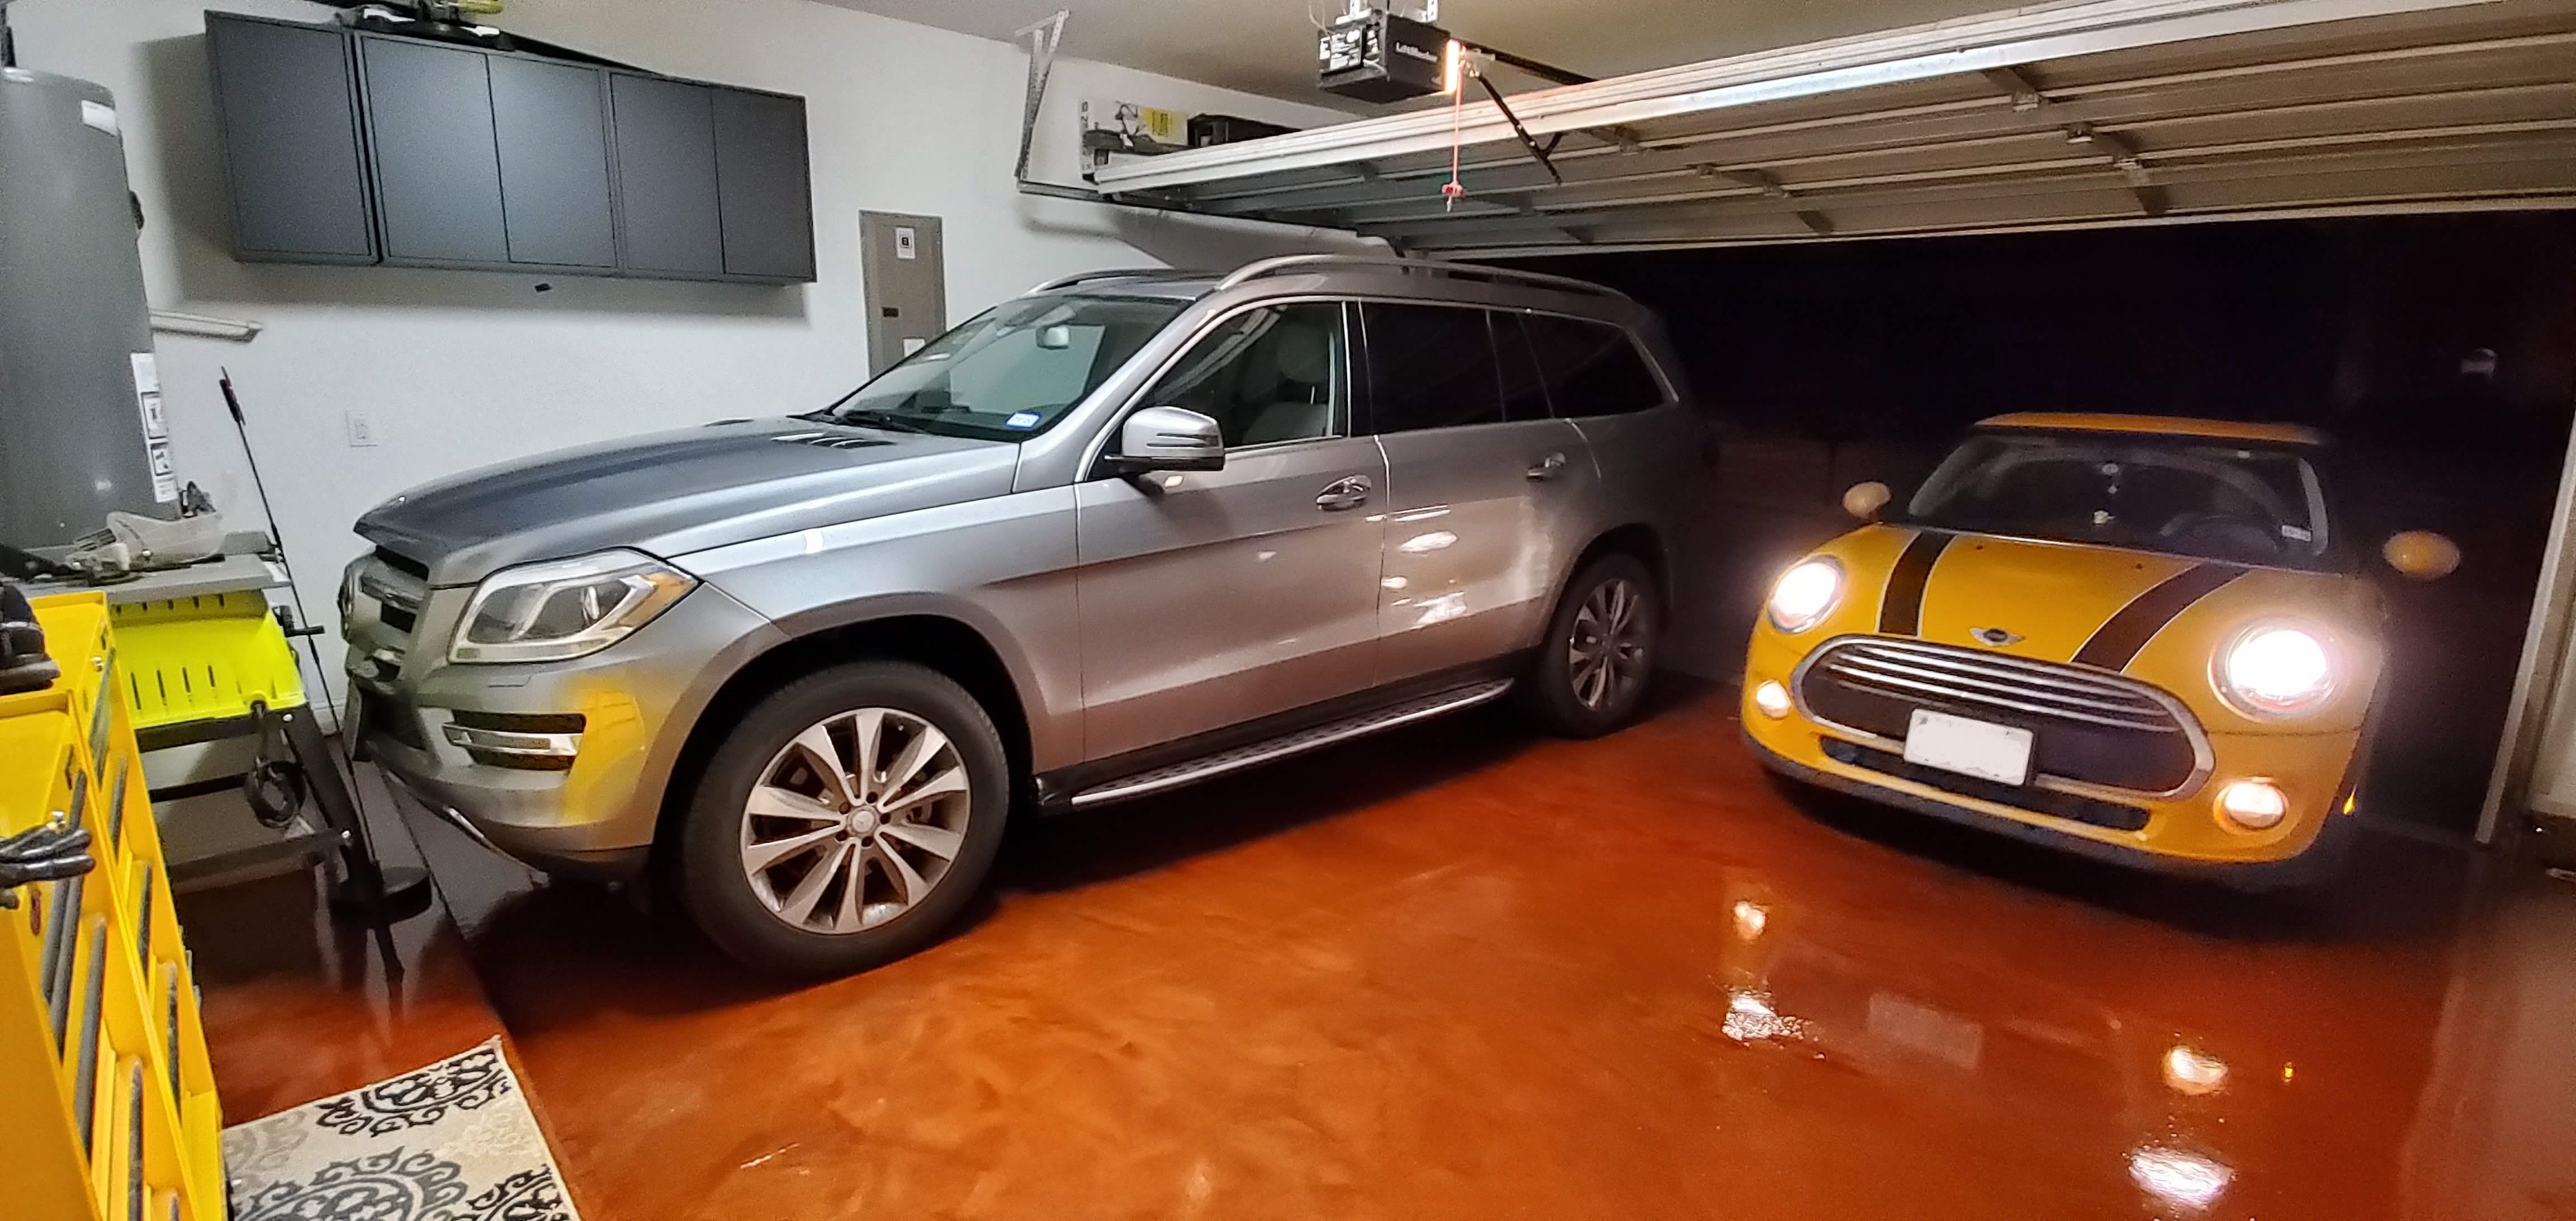
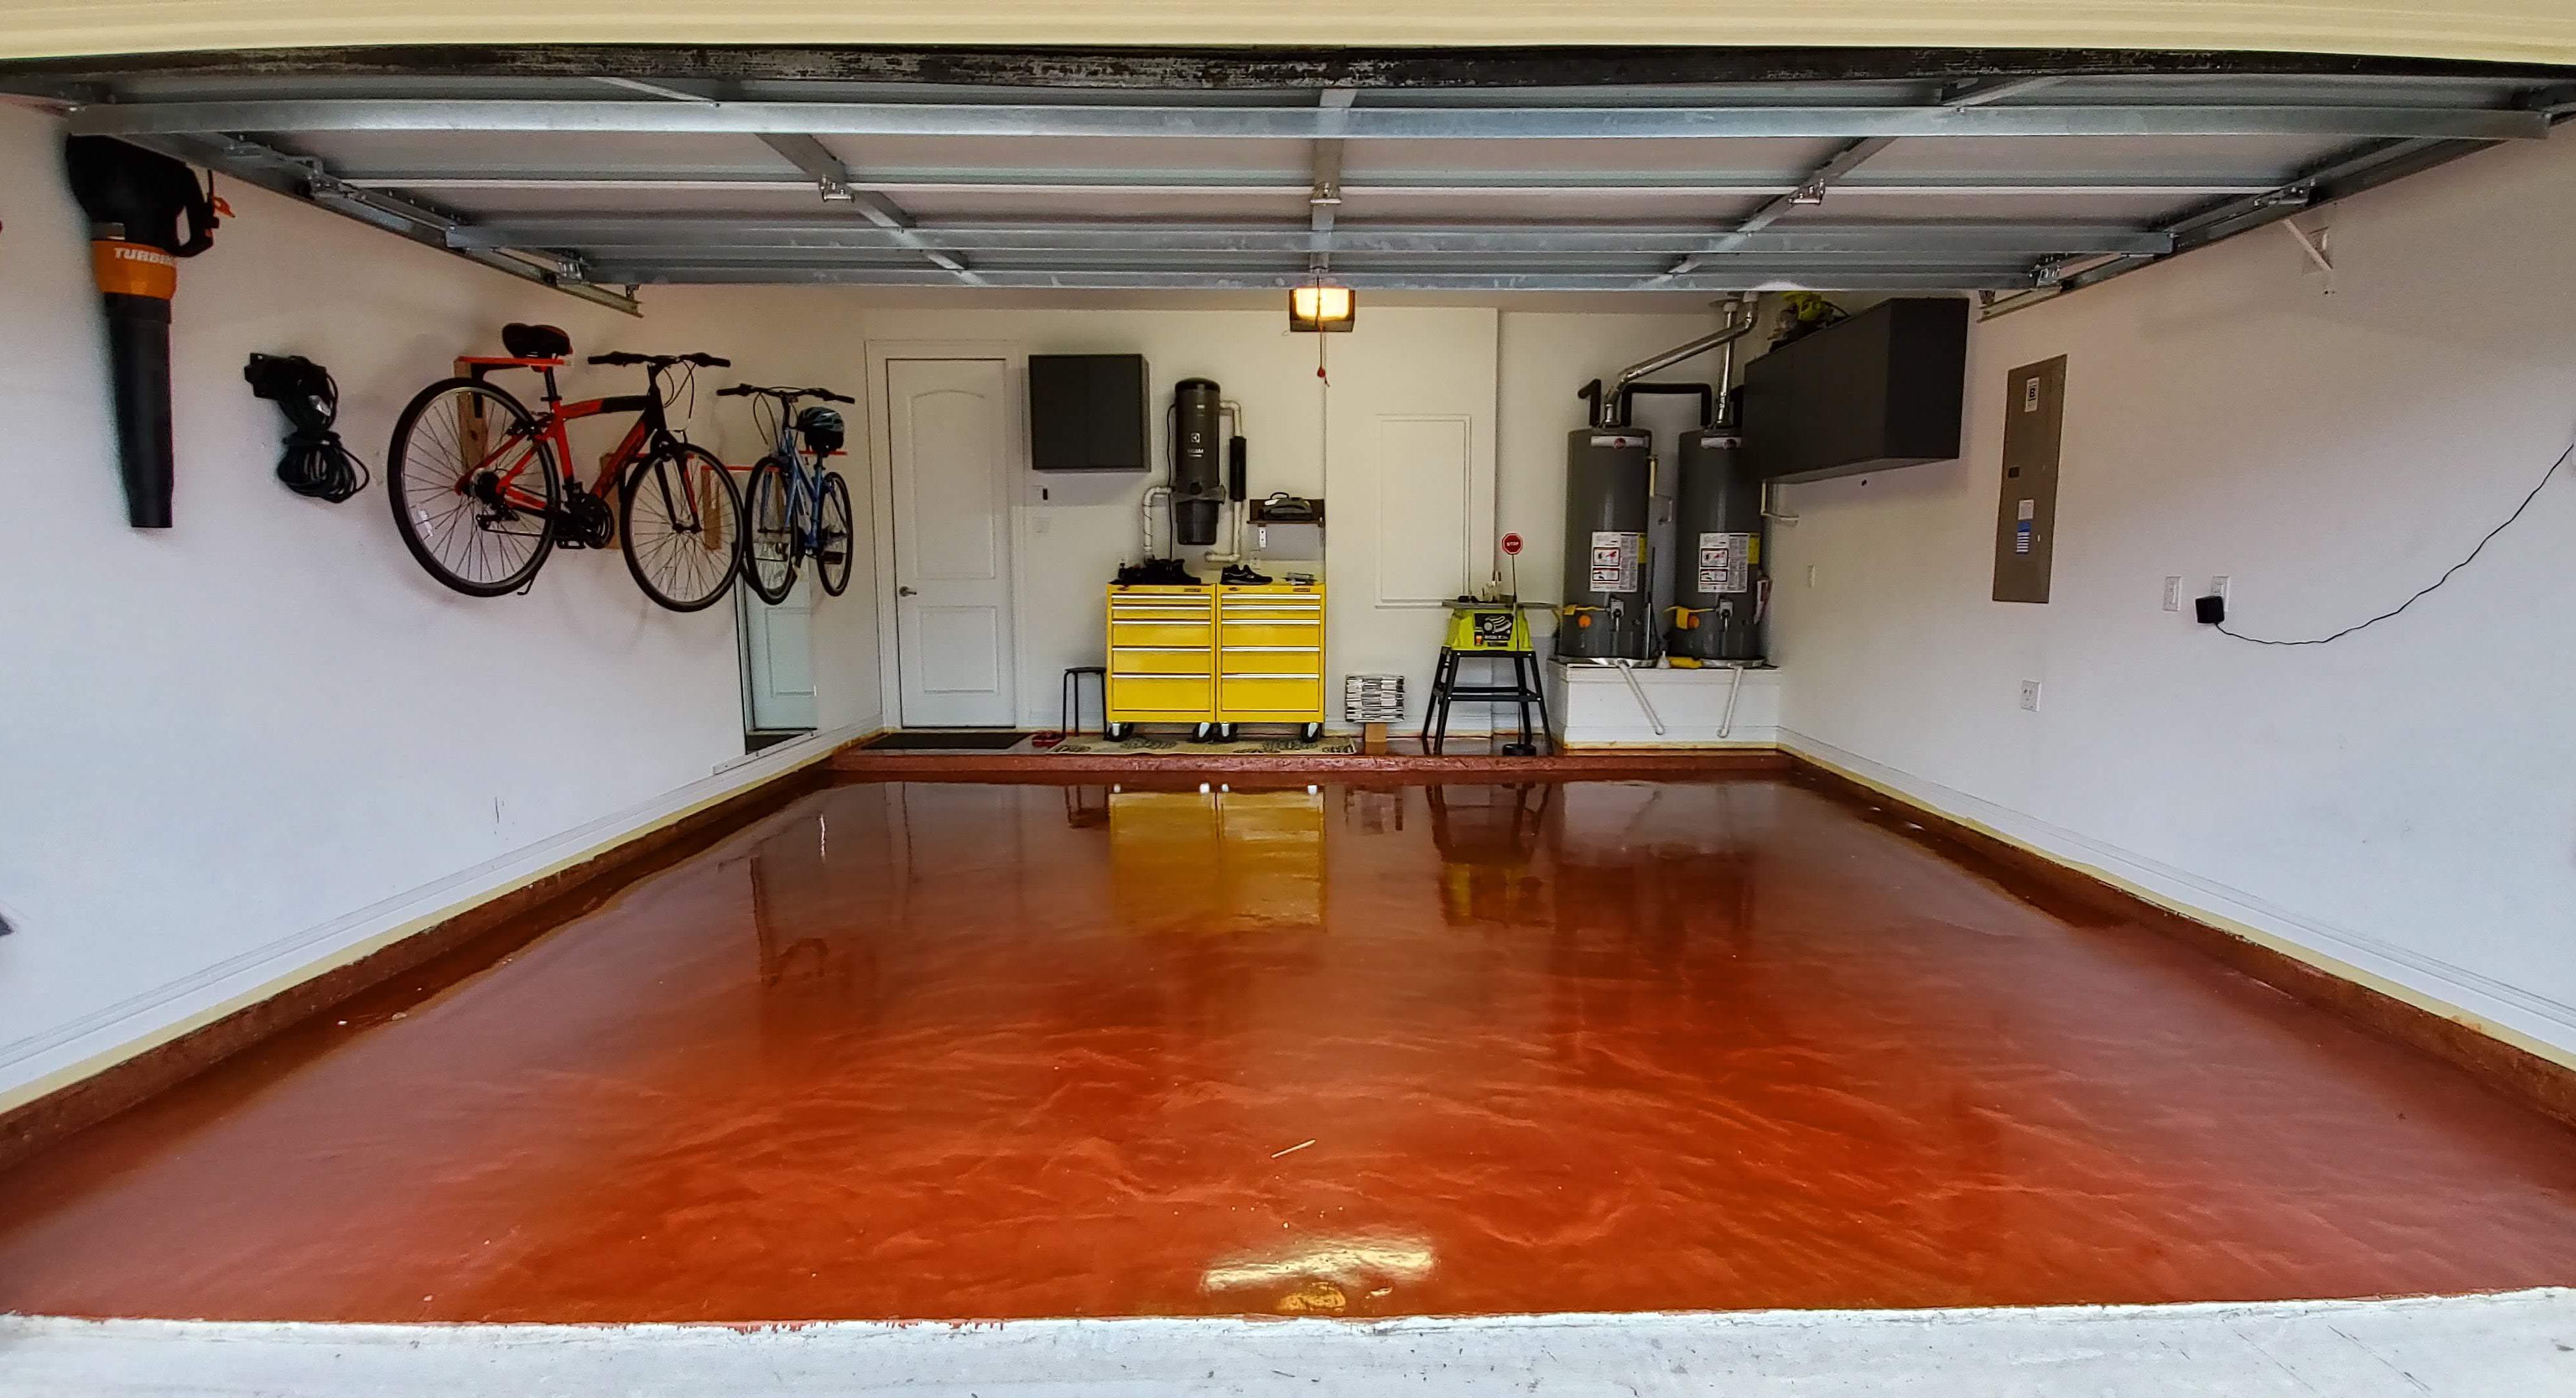
Final Reveal