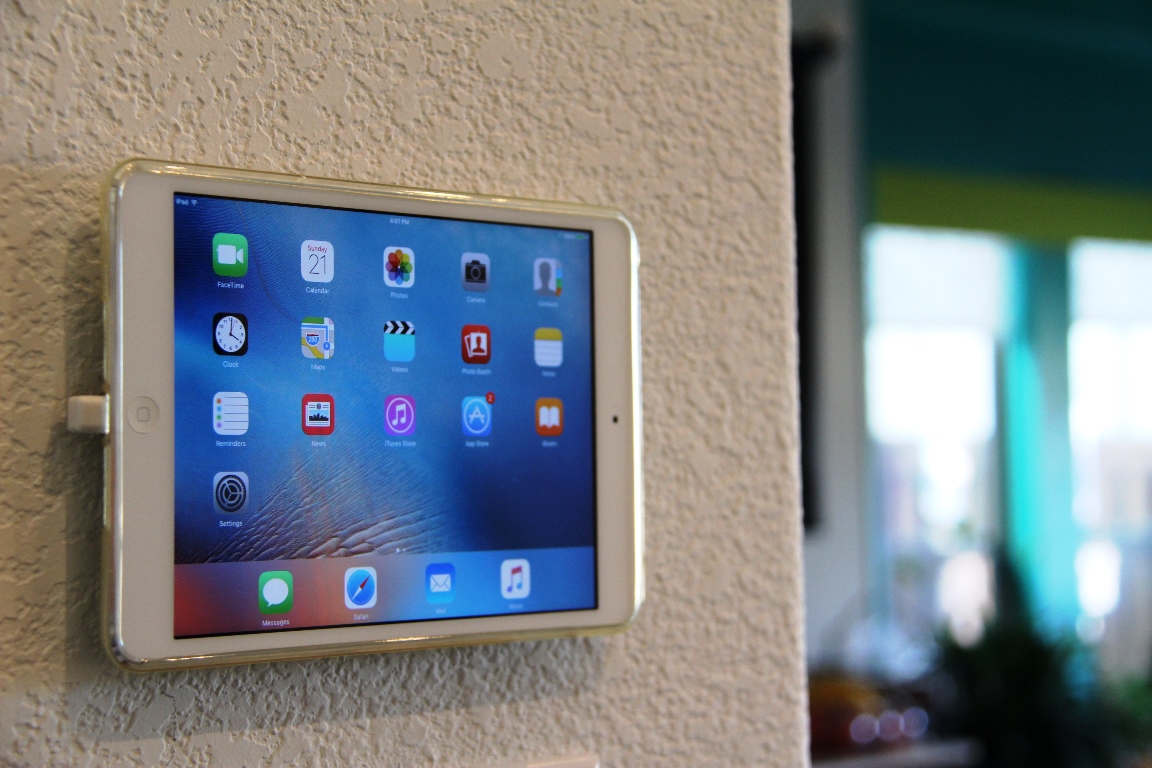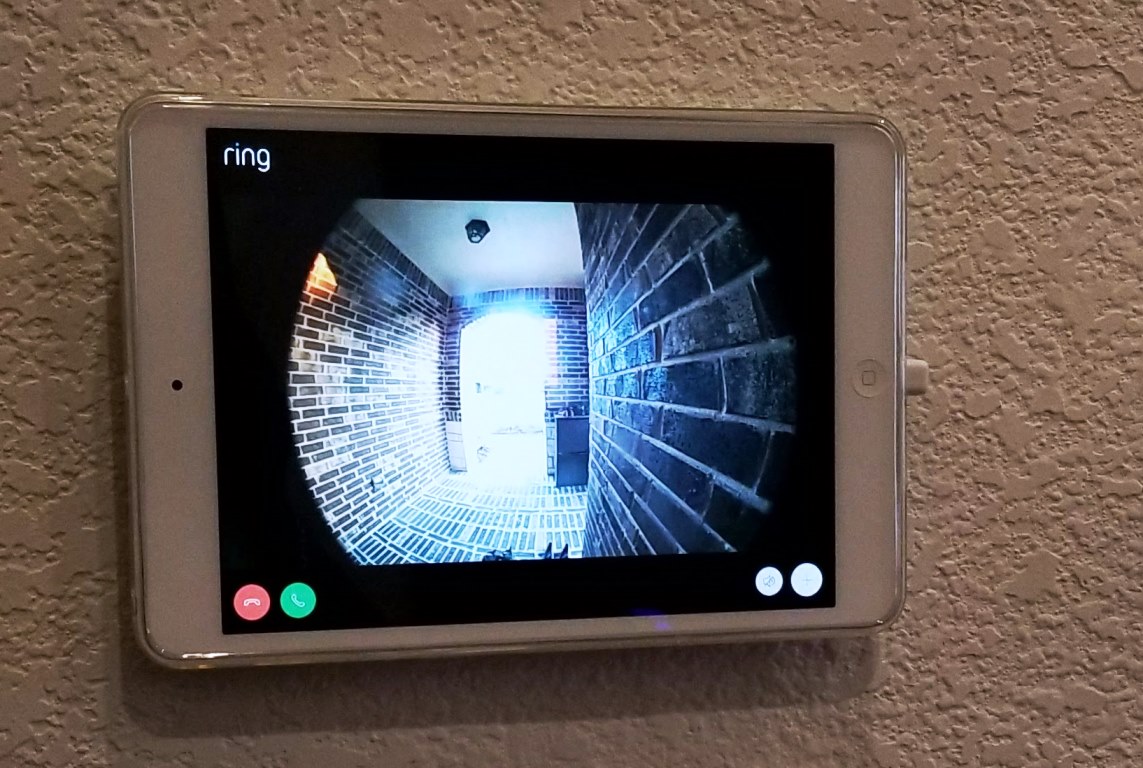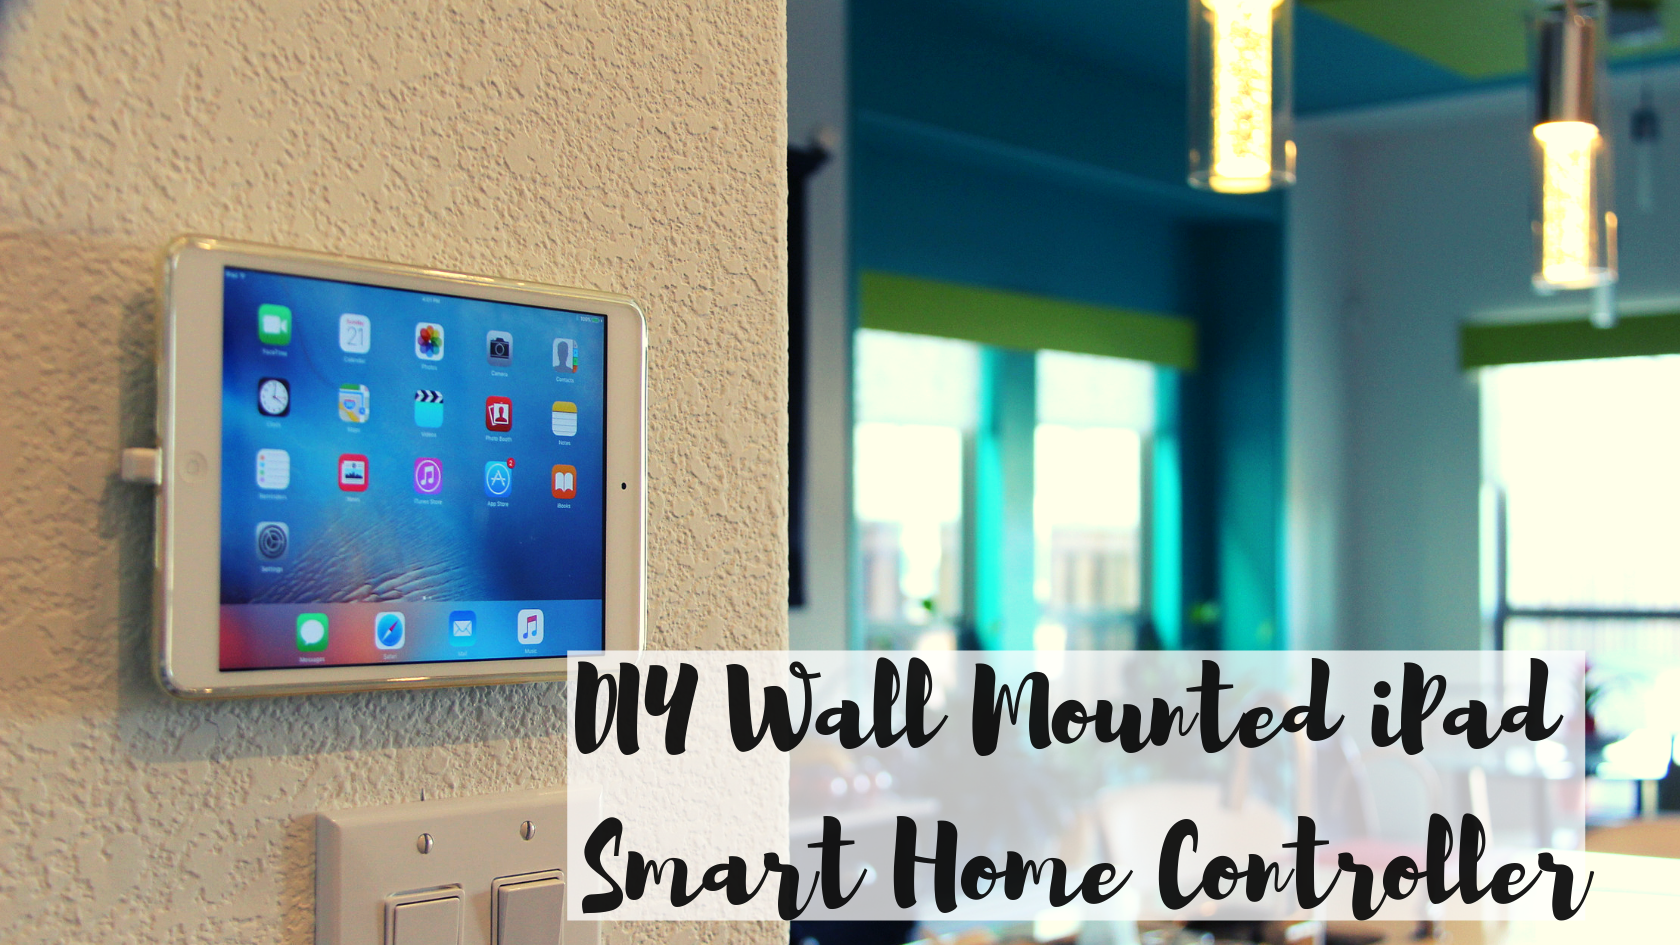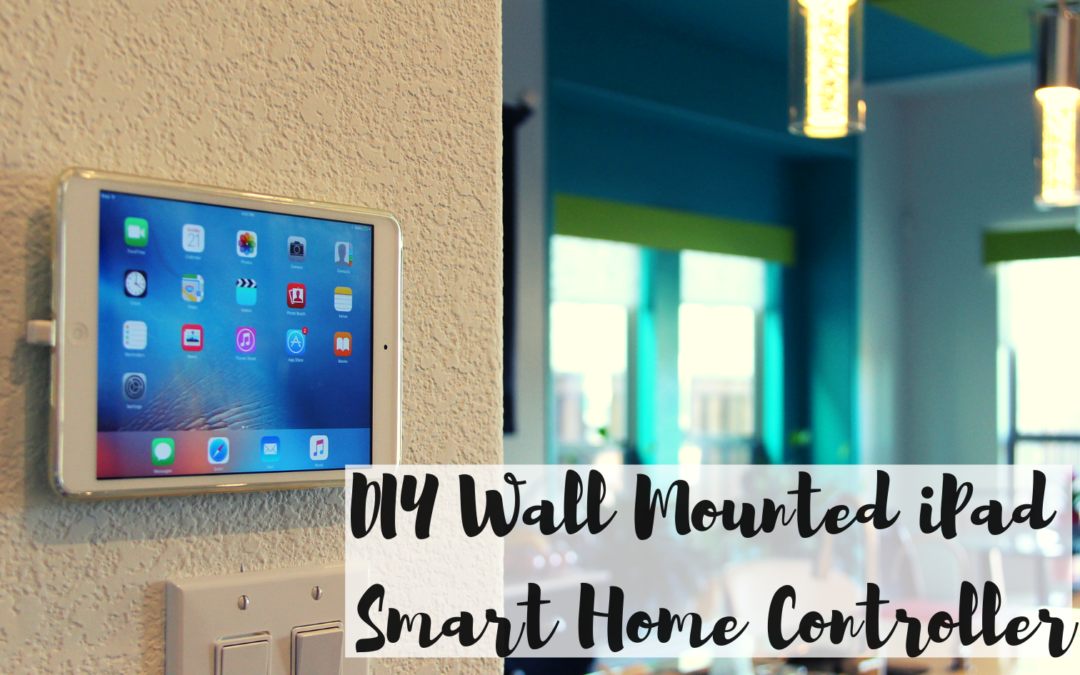
We began thinking about having an ‘easily accessible’ display to serve as our Home Automation / Security camera video display. We had an old iPad Mini that we no longer were using and decided to use that as a hub docked on the wall from where we can control all of our home automation (Thermostat, Rachio sprinklers, Samsung Smartthings hub, etc.) as well a video monitor for keeping an eye on the exterior of the home via the security camera & the Ring doorbell.
Some additional requirements were:
- Portable – easy to dock and easy to undock & carry around
- Always Charged – No need for a hassle of undocking and charging weekly
- Charging cable should be hidden
- We wanted the display to be flush to the wall – we did like the concept of having a ‘Boxy’ or ‘protruding out of the wall’ kind of a display
We did find some wall mounts but none of them fulfilled the above requirements at a reasonable price point. Some were just mounts without any solution for charging (like this one: https://amzn.to/2yxOaW2) or were not flush to the wall (like this one: https://amzn.to/2yv6leK) or simply too expensive (like this one: https://amzn.to/2PP9fSk).
So we decided to do it our way – The DIY Way. Continue reading this post to see what we did and how we did it.
DIY Skill Level Needed:

This post contains some affiliate links for your convenience. Click here to read our full disclosure policy.
Materials Needed:


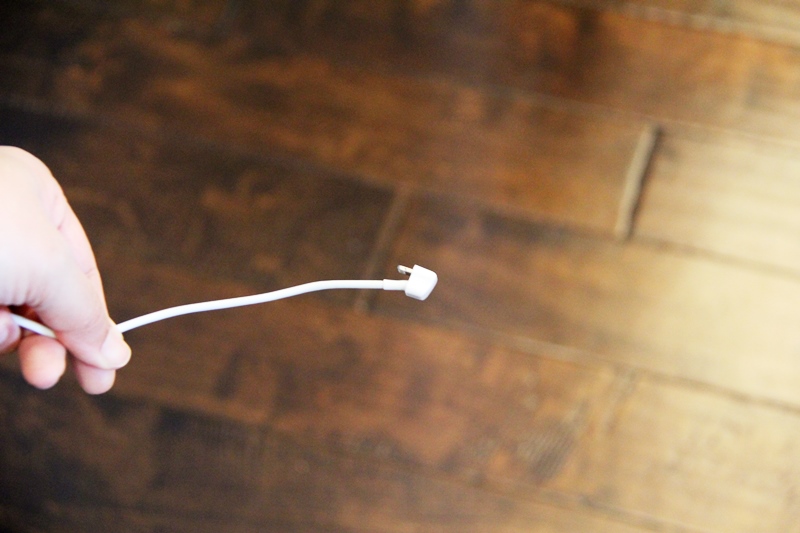
- 180 Degree USB Charger for Apple devices and for Android devices (USB Type A/B, USB Type C)


- Basic Electrical Tools (Screw Driver, Wire Stripper, Voltage Detector, etc.)
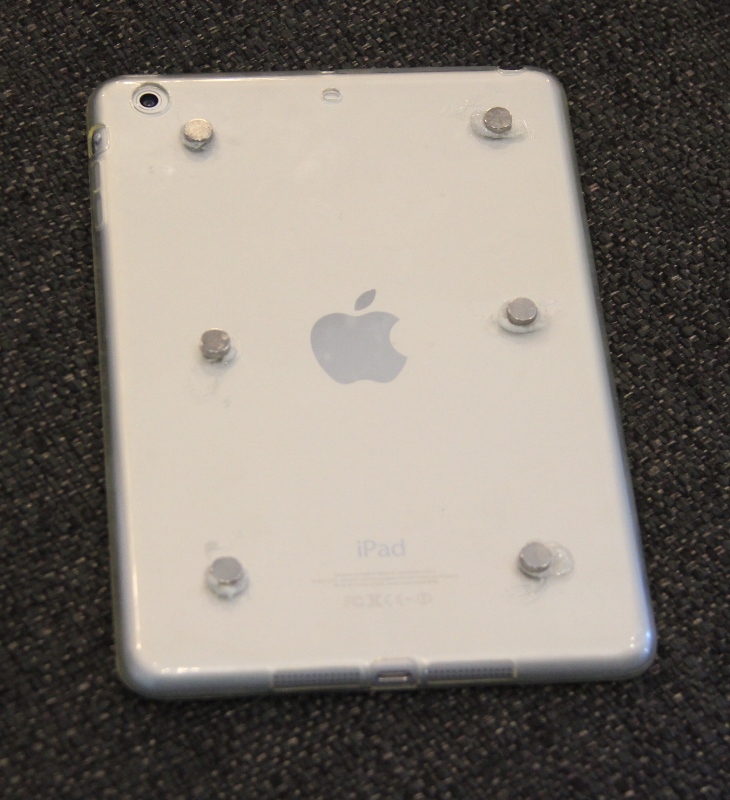
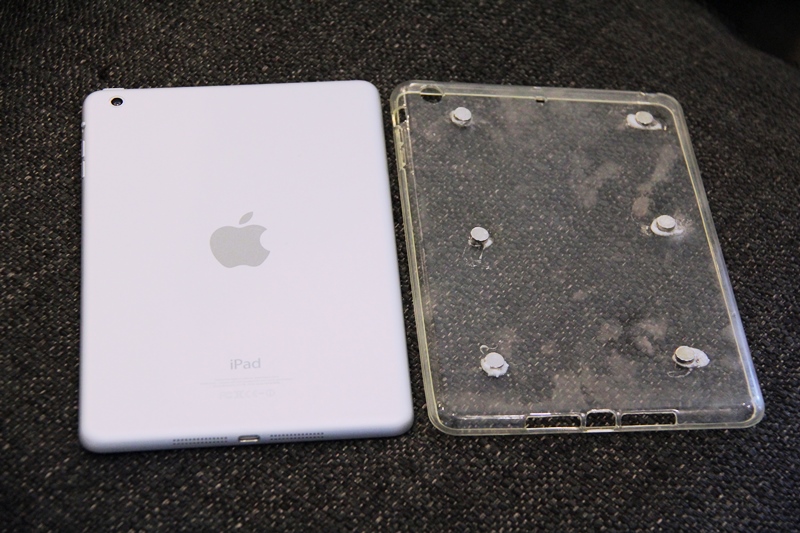
- A clear case for your tablet like this one we had for the iPad Mini
- We had some Neodymium magnets (like these) from another project that we used to dock the iPad
- Hot Glue or Gorilla Glue
- Metal washers/small coins that stick to Magnets
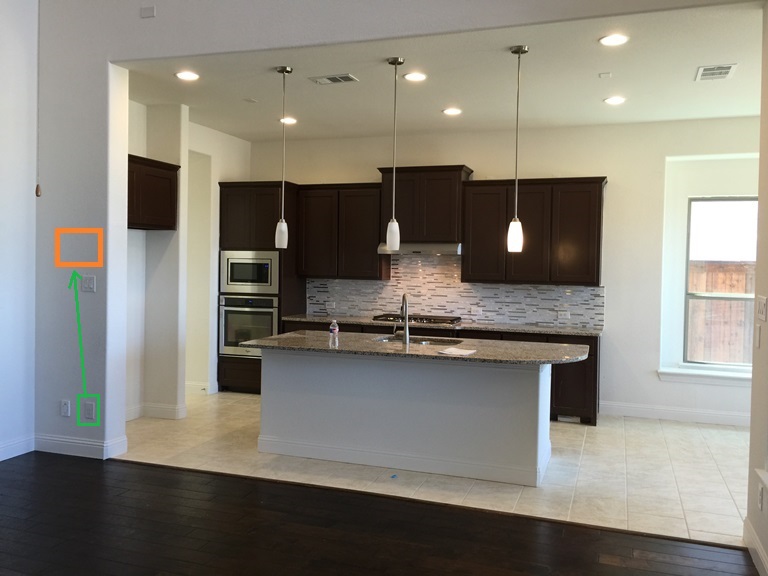
Location
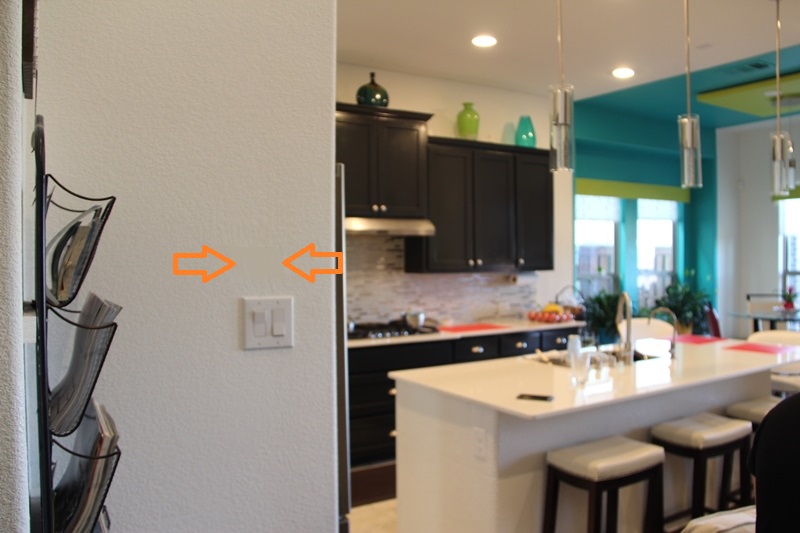
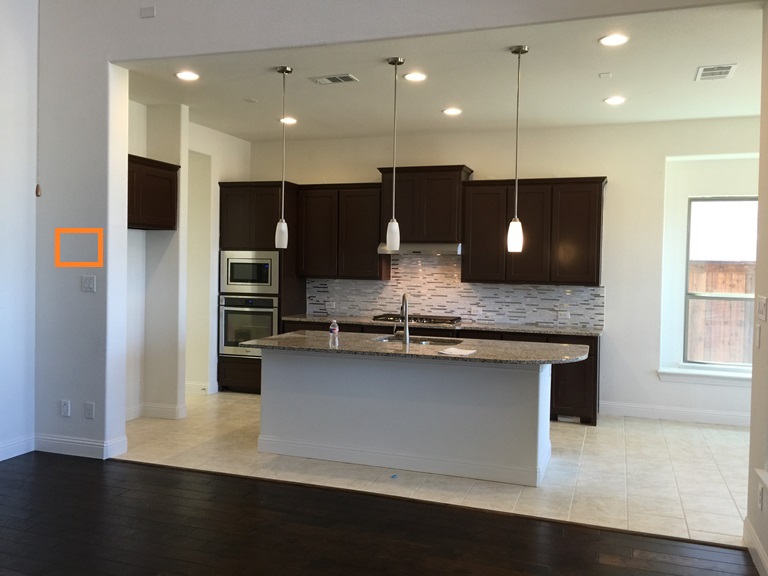
We chose a central location between the kitchen, living room and our entryway for easy access.
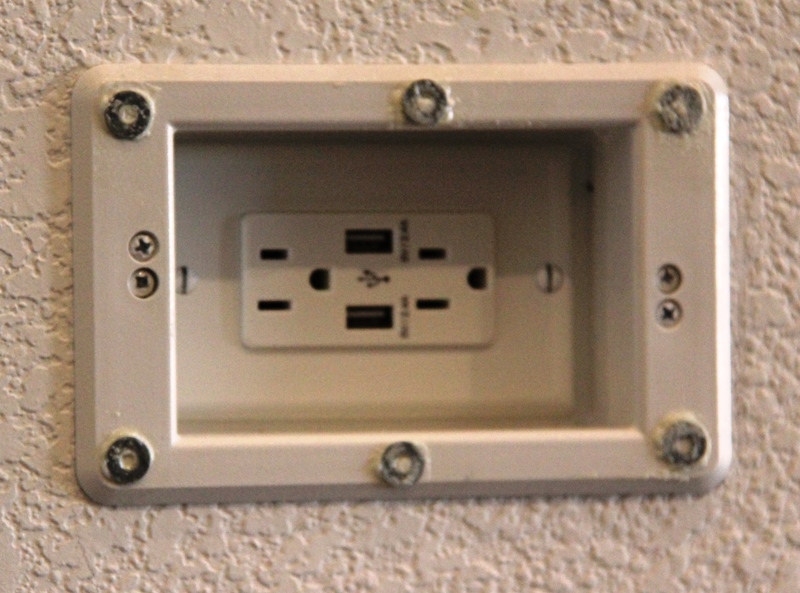
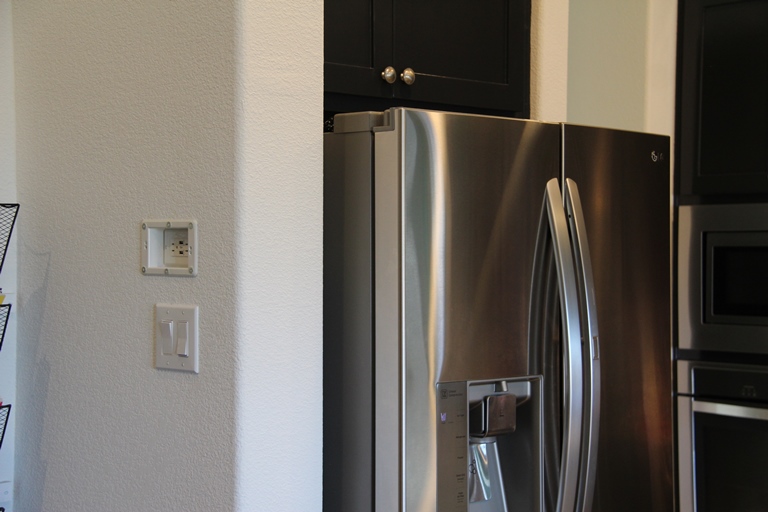
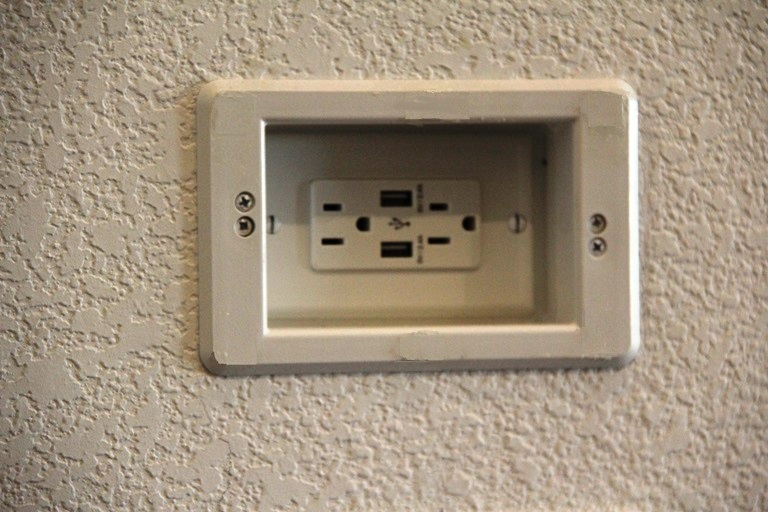
Adding a Recessed Outlet
We are not experts in electrical works, we will not be getting into the details of how we added a recessed outlet. You can hire an electrician or DIY referring to below videos
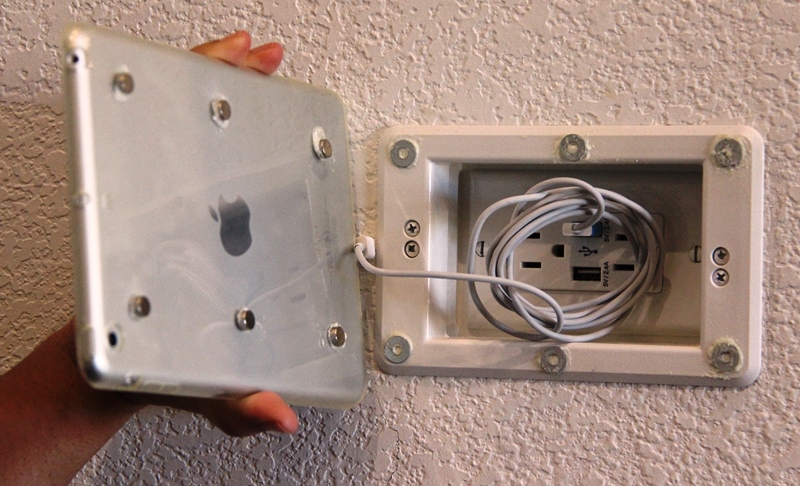
We added a new Recessed outlet by connecting it with power from the existing outlet right below as seen in the picture
Docking
We stuck neodymium magnets to the iPad clear case & metal washers to the outlet using gorilla glue (see pictures below). Connected the 180-degree charging cable and DONE !!!